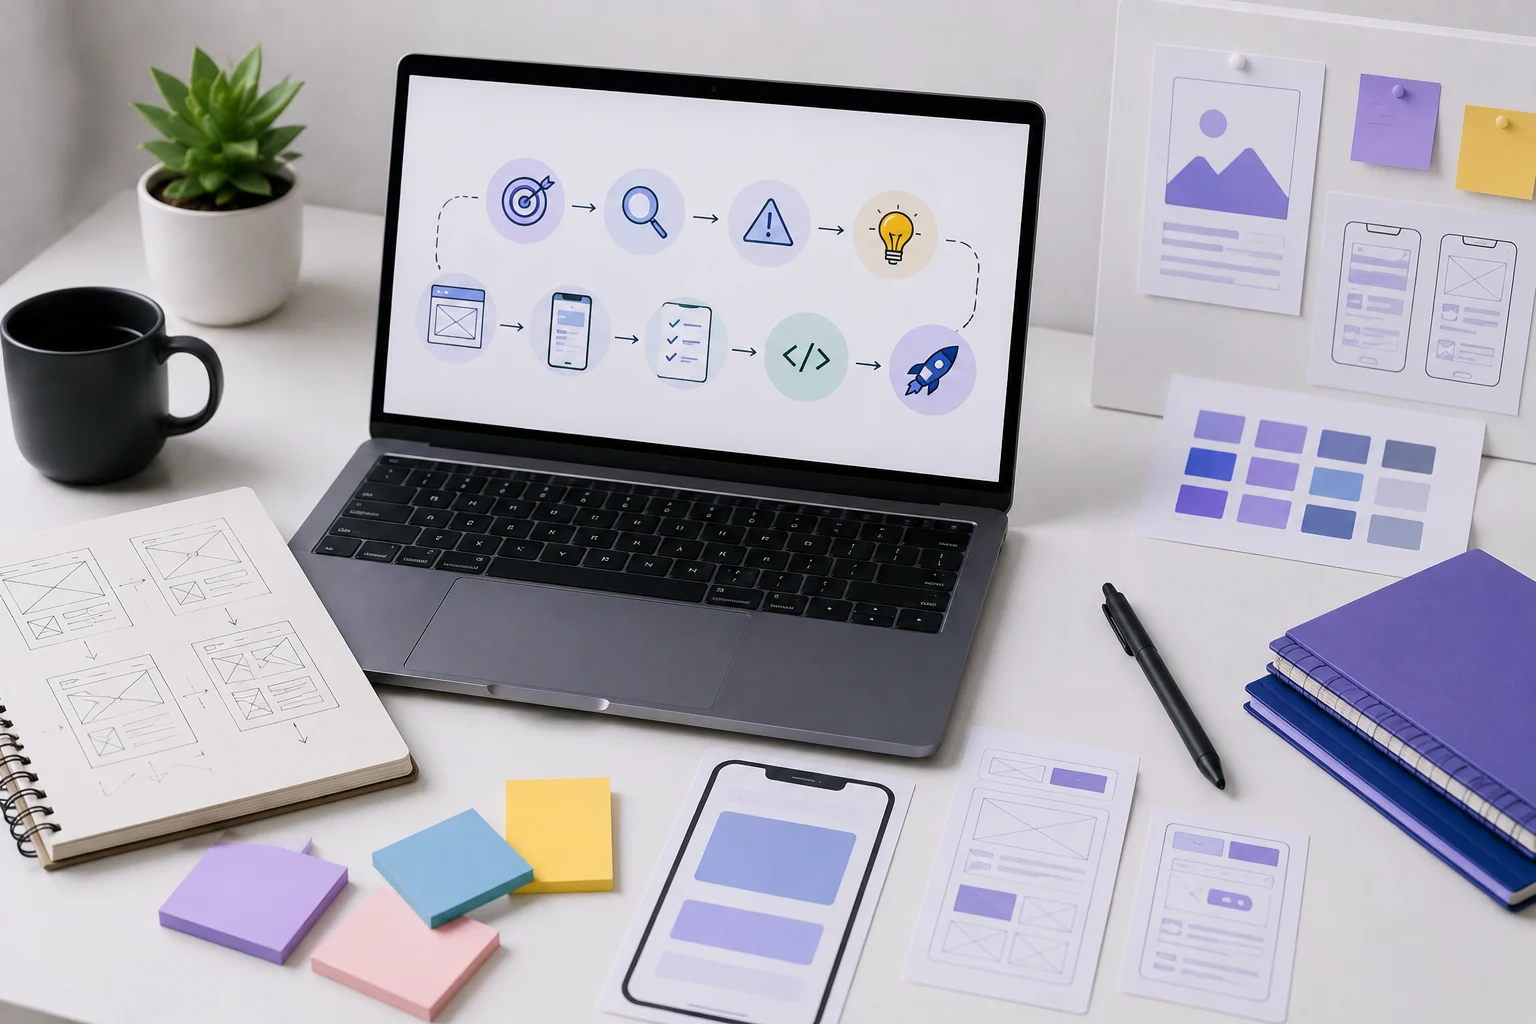
The product design process is a user-centered journey that transforms user problems into a strategic solution through a clear sequence of decisions. It identifies the core challenge, guides product development from planning to launch and prepares the product for post-release iteration through continuous improvement.
The 9 essential steps for the product design process are listed below. They include set goals, research and discovery, define the problem, ideation and concept generation, create wireframes, build prototypes, test and validate, collaborate with development and finalization and launch.
1. Set goals
Set goals to define what the product design project must achieve before research, ideation and execution steps begin. This step aligns business targets with user needs, defines project scope, identifies stakeholders, assigns ownership and establishes success metrics that guide every decision.
These objectives require a clear framework that keeps the project focused and measurable. The Specific, Measurable, Achievable, Relevant and Time-bound (SMART) framework defines realistic objectives, while Objectives and Key Results (OKRs) connect business targets with measurable outcomes. Both frameworks help teams evaluate progress and adjust priorities when new research reveals better opportunities.
2. Research and discovery
Research and discovery establish a clear understanding of user needs, define core problems and support market analysis before product decisions begin. This step examines market conditions, competitors, existing solutions and business opportunities to reduce risk and identify the right product direction.
The process uses user interviews, surveys, field studies, diary studies, analytics reviews and usability research to collect reliable evidence. It also uses contextual inquiry, customer journey mapping, persona development, competitive analysis, stakeholder workshops, assumption mapping and opportunity-solution trees to uncover user pain points, unmet needs, market gaps and new opportunities that support later design decisions.
3. Define the problem
Define the problem to convert user research into a clear problem statement that guides every design decision. This step identifies core pain points, examines user actions and creates a human-centered blueprint that keeps the team focused on the right challenge.
This definition relies on personas or data-driven archetypes, user journey maps and structured problem statements that organize research into clear insights. These frameworks reveal user needs, validate the core problem and establish a shared direction before the ideation phase.
4. Ideation and concept generation
Ideation and concept generation convert a defined problem into practical solution options before development begins. This step encourages non-judgmental creativity, explores different perspectives, challenges assumptions and uses brainstorming, sketching and mind mapping to expand solution ideas.
The process also applies brainwriting, storyboarding, role-playing, How Might We questions, Crazy 8s, SCAMPER and reverse brainstorming to explore different solution directions. Filtering and refinement then remove weak concepts and compare the strongest options against user desirability, technical feasibility, business viability, cost, risk and time before concept selection.
5. Create wireframes
Create wireframes to convert user research, requirements and user flow into a clear structural layout before visual design begins. This step defines content hierarchy, supports content prioritization and improves user navigation through a simple page structure.
The process starts with gather requirements to define user goals, core features, content needs and technical constraints. Sketch on paper, then explore layout ideas before set up digital frames to transfer the selected structure into a wireframing tool. Block out content blocks, place key interface elements and establish hierarchy and spacing to organize information for clear scanning.
The next step is to add annotations to explain interactions, navigation paths and design decisions. Review and iterate to confirm the structure through feedback and revision. Increase fidelity, then add visual details and prepare interactive prototypes or high-fidelity designs for the next stage.
6. Build prototypes
Build prototypes to convert selected concepts into testable product representations before development begins. This step validates ideas, reduces uncertainty and reveals potential design flaws before production. It also collects user feedback that supports better design decisions.
The process uses paper sketches, wireframes, digital interactive models, computer-aided design (CAD) models, proof-of-concept prototypes, physical models and high-fidelity prototypes. Each prototype answers different questions about structure, usability, feasibility, appearance, or performance before the product moves forward.
The workflow starts with define the purpose to identify the feature or assumption for evaluation. It then selects the format that matches the design objective before build the first version creates the initial concept. Next, simulate core interactions, gather user feedback, identify design flaws and refine and repeat improve the prototype until it meets project requirements.
7. Test and validate
Test and validate to confirm that the product solves user problems, performs reliably and meets defined success criteria before release. This step combines feedback from real users with evidence from prototypes, minimum viable products (MVPs) and performance data to support confident product decisions.
The process uses usability testing, prototype testing, A/B testing, surveys, interviews, analytics reviews and beta testing to evaluate product performance from different perspectives. Each method reveals how users interact with the product and whether it satisfies functional and usability requirements.
The workflow starts with clear assumptions and success metrics, then selects suitable methods, recruits relevant users, completes realistic tasks and collects qualitative and quantitative evidence. It then analyzes the results, identifies design flaws, supports fixing flaws through revision and confirms whether the product is ready for the next stage.
8. Collaborate with development
Collaborate with development throughout the product design process, from research and ideation to implementation, testing and launch. This cross-functional partnership aligns product goals, uncovers technical constraints and reduces costly rework before development begins. Early collaboration also helps teams solve problems together instead of waiting for a final handoff.
The process starts with research readouts that establish shared context before problem-framing sessions define priorities and constraints. Idea sketches then support early technical discussions, while teams pressure-test feasibility to evaluate complexity, dependencies, accessibility, performance and risk.
The workflow continues with regular design reviews, clear handoff documentation and close collaboration during implementation and quality assurance. This approach keeps design decisions aligned with development work and supports a smoother product release.
9. Finalization and launch
Finalize and launch the product after the validated design concept satisfies production and release requirements. This step confirms specifications, completes production preparation, verifies quality-checked releases and secures stakeholder approval before launch.
The process confirms specifications, technical documentation, interactions and release readiness before it reviews functionality, performance, accessibility, reliability, visual bugs and text errors. It then completes stakeholder approval across design, development, product, marketing and support to prepare the product for release.
The final stage releases the product through the selected channels, monitors system performance, tracks user sign-ups, collects customer feedback and resolves support issues. Early results, success metrics and user feedback then guide future product improvements after launch.
What supports a successful product design process?
A successful product design process depends on strong research, effective collaboration and continuous validation. These supports connect user behaviors with business goals and technical constraints.
The supports for a successful product design process are mentioned below.
User-Centric Research: User-centric research reveals user needs, pain points and user behaviors before design decisions begin.
Cross-Functional Alignment: Cross-functional alignment keeps designers, developers and stakeholders focused on shared goals throughout the project.
Clear Problem Definition: Clear problem definition keeps the team focused on the right user problem before solution development.
Iterative Prototyping: Iterative prototyping uses low-fidelity wireframes and interactive prototypes to validate concepts before development.
Continuous Validation: Continuous validation applies usability tests to confirm design quality and identify improvement opportunities.
Business and Technical Fit: Business and technical fit keeps product decisions practical, technically feasible and aligned with business objectives.
Documented Communication: Documented communication reduces misunderstandings through clear specifications, design decisions and feedback.
Data-Driven Iteration: Data-driven iteration uses performance data and post-launch feedback to guide future product improvements.
What are the key elements for an effective product design process?
An effective product design process is a user-centered system that combines user research, problem definition, rapid ideation, interactive prototyping and usability testing. These elements also support website design to improve design decisions, validating user experiences and reducing usability issues before product release.
What tools are used in the product design process?
The product design process uses tools such as Figma, FigJam, Maze and Jira. It support user research to execution, ideation to prototyping, testing, interface design and developer handoff. These tools also help the graphic design process, which enable designers create interfaces, validate concepts and deliver products more efficiently.
How do you evaluate the product design process?
Evaluate the product design process through evidence that confirms solutions address user problems, support business goals and deliver usable outcomes. Core evaluation criteria include desirability, usability, feasibility, iterative testing results and post-launch performance.
How does design thinking improve the product design process?
Design thinking improves the product design process through human-centric understanding of user needs. Structured empathy, rapid prototyping and continuous iteration strengthen design decisions and improve product quality.
.svg)
.svg)
.svg)
.svg)